A one-milliliter discrepancy can be trivial in a rinse step and decisive in a small-volume preparation. That is why laboratory glassware should be selected as part of the method, not treated as a generic accessory. Material, calibration, geometry, chemical compatibility, and cleaning history all influence whether a vessel supports reliable in-vitro research or introduces avoidable variability.
For qualified researchers and educational laboratories, the goal is straightforward: use glassware that fits the required measurement, handling conditions, and documentation standard. The right choice is rarely the most complex item on the bench. It is the item that performs predictably within the limits of the procedure.
Laboratory Glassware Starts With the Task
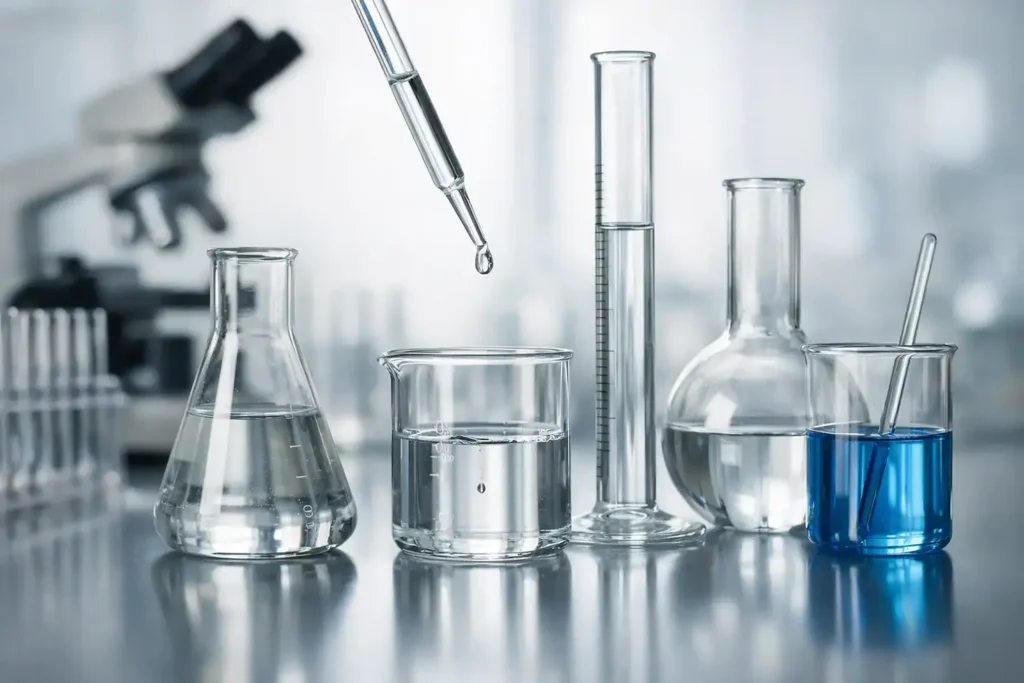
Before selecting a flask, cylinder, vial, or pipette, define what the vessel must do. A beaker is useful for mixing, transferring, and approximate volume handling, but its graduations are not intended for high-accuracy measurement. A graduated cylinder offers better volume readings, while volumetric flasks and pipettes are designed for preparations that require a specified final volume.
This distinction prevents a common source of procedural drift: using convenient glassware in place of calibrated glassware. If a solution must be prepared to an exact volume, choose a volumetric vessel of the appropriate capacity. If the task is simply to dissolve, combine, or temporarily hold a material, a beaker, Erlenmeyer flask, or suitable vial may be the more practical option.
Capacity matters as well. Working too close to the maximum fill line increases spill risk and makes mixing less controlled. Working with an oversized vessel can make small-volume handling difficult and may increase exposed surface area. Select a size that leaves reasonable headspace while allowing the intended volume to be read or transferred clearly.
Match Glassware to Measurement Accuracy
Calibrated glassware is generally identified by its intended delivery or containment function. A vessel marked TC, or to contain, is calibrated to hold its stated volume. A vessel marked TD, or to deliver, is calibrated to dispense its stated volume under defined conditions. A volumetric flask is typically used to contain a final prepared volume, while a volumetric pipette is generally used to deliver a measured aliquot.
Class A glassware is manufactured to tighter tolerance than Class B glassware. For quantitative preparation, standardization, or methods where measurement uncertainty can affect the result, Class A is usually the appropriate starting point. Class B may be suitable for instructional work, approximate preparations, or procedures with wider acceptable tolerances.
Accuracy also depends on correct reading technique. Read the bottom of the meniscus at eye level for most clear aqueous solutions. Keep the vessel upright on a stable, level surface and avoid estimating between marks beyond what the method allows. A calibrated mark cannot compensate for poor viewing angle, contamination, or an unverified temperature condition.
Material Choice Determines Chemical and Thermal Limits
Most research glassware is made from borosilicate glass because it provides strong resistance to thermal shock and many common laboratory chemicals. It is a practical choice for heating, mixing, storage, and general wet-lab workflows. Still, chemical resistance is not universal. Strong alkalis, hydrofluoric acid, and certain prolonged exposure conditions can damage glass or alter its surface.
Soda-lime glass is often used for lower-cost containers and routine storage applications. It may be appropriate when the method does not require repeated heating or high thermal resistance. Quartz glass is selected for specialized work involving ultraviolet transmission or elevated temperatures, but it carries a higher cost and is not necessary for ordinary preparations.
The compound, solvent, temperature, concentration, exposure time, and cleaning agent should all be considered together. For example, a borosilicate bottle may tolerate a solvent well at room temperature, yet repeated heating and cooling cycles or long-term storage could create a different risk profile. Review the method and applicable safety documentation before choosing the container.
Ground-glass joints require their own attention. A properly matched joint can support controlled assembly of condensers, adapters, funnels, and reaction vessels. Chips, residue, overtightening, and incompatible lubricants can lead to seizure, leakage, or breakage. Jointed assemblies should be inspected before use and supported so the weight of attached components is not carried by a single connection.
Choose Geometry That Supports the Workflow
The shape of a vessel changes how it handles. Erlenmeyer flasks reduce splashing during swirling and are often useful for mixing or titration-related workflows. Round-bottom flasks support uniform heating in appropriate apparatus but require a secure clamp or support because they do not stand independently. Straight-sided bottles are practical for storage, while amber glass helps reduce light exposure for materials that require protection from visible or ultraviolet light.
For peptide-related research preparation, small vials and narrow-volume measuring tools may be more useful than large general-purpose vessels. The practical question is not whether a container looks laboratory-grade. It is whether its dimensions allow controlled transfer, clear labeling, appropriate closure, and the required handling volume without unnecessary loss to the vessel wall or cap system.
When transfer loss matters, evaluate the entire path: source vial, transfer tool, receiving vessel, and final storage container. A technically accurate measurement can still produce an inconsistent preparation if material adheres to unsuitable surfaces, is left in a dead volume, or is transferred through equipment that was not adequately rinsed or conditioned.
Inspection Is a Pre-Use Requirement
Glassware should be inspected before each use, particularly when it will be heated, placed under vacuum, or used for quantitative work. Look for cracks, chips, star fractures, scratched surfaces, worn graduations, damaged rims, and compromised joints. A small defect can become a failure point under temperature change, pressure, or mechanical stress.
Do not rely on a quick visual check alone when accuracy is central to the method. Confirm that labels are readable, stoppers or caps fit correctly, and the glassware is the intended class and capacity. If a vessel has been exposed to aggressive chemicals, elevated heat, or repeated cleaning cycles, assess whether its condition remains suitable for the procedure.
Glassware used under vacuum deserves additional caution. Not every vessel is designed for vacuum applications, and visible damage may indicate elevated breakage risk. Use equipment rated for the intended conditions, employ appropriate shielding where required by facility procedures, and never improvise a pressure or vacuum setup with general-purpose glassware.
Cleaning Must Preserve Both the Glass and the Method
Cleaning is not merely a housekeeping task. Residual detergents, salts, organic films, and previous research materials can affect wetting behavior, pH, concentration, spectroscopic observations, and downstream results. The cleaning process should be matched to the contamination and documented where the laboratory’s quality practices require it.
For routine use, prompt rinsing after emptying prevents residues from drying onto the surface. A suitable laboratory detergent followed by thorough rinsing is often sufficient for general glassware. Final rinses should align with the procedure, particularly when trace ions, detergent carryover, or solvent residues could interfere with the experiment.
Avoid abrasive cleaning tools that scratch the interior surface. Scratches can retain residues, obscure observations, weaken the glass, and make future cleaning less reliable. If stronger cleaning chemistry is needed, use it only under an established laboratory protocol with appropriate personal protective equipment and disposal practices. The cleaning agent must be compatible with both the glass and any connected caps, seals, or labels.
Drying also depends on use. Air drying may be acceptable for general storage. Heat drying can be appropriate for glassware designed for that condition, but it should not be assumed for every calibrated item, assembled component, or closure system. For moisture-sensitive procedures, follow the method’s drying requirement rather than relying on a visually dry appearance.
Storage and Labeling Protect Traceability
Clean glassware should be stored where dust, impact, and mix-ups are controlled. Keep volumetric glassware separated from general-use containers when practical, and protect narrow stems, ground joints, and delicate rims from contact with hard surfaces. Do not stack glassware in a way that places weight on thin walls or creates hidden chip hazards.
Every prepared solution or research material held in glassware should be labeled according to the laboratory’s procedures. At a minimum, a useful label identifies the material, concentration where applicable, preparation date, responsible researcher, and any storage condition or hazard information required by the site. A premium vessel does not create traceability on its own. Clear records and consistent labeling do.
For research-use materials, maintain the boundary between laboratory handling and any non-laboratory use. Products and supporting equipment intended for in-vitro research and educational purposes must be handled only within their stated use conditions. They are not for human or animal consumption, diagnosis, treatment, cure, prevention, or therapeutic application.
Build a Deliberate Glassware Set
A well-chosen set of laboratory glassware is not defined by quantity. It is defined by coverage of the operations performed most often: accurate measurement, solution preparation, controlled mixing, transfer, storage, and observation. Start with the method, select the appropriate material and calibration class, then maintain each item with the same discipline applied to the research material itself.
Before the next preparation, pause at the bench and ask a practical question: does this vessel provide the accuracy, compatibility, and condition the procedure requires? That short check can prevent a long chain of avoidable corrections later.